Makin' Bacon
Have you ever bought the "thick cut" bacon at the store, and thought that the people doing the cutting of the bacon should really consult you on what an appropriate thickness is? I sure have. I want something that I can put my teeth into and know that it's got some meat to it! Bearing in mind that my goal here is to have amazing results with minimal effort, I started searching around online, and I found this video. I followed the directions exactly, and I got delicious results!
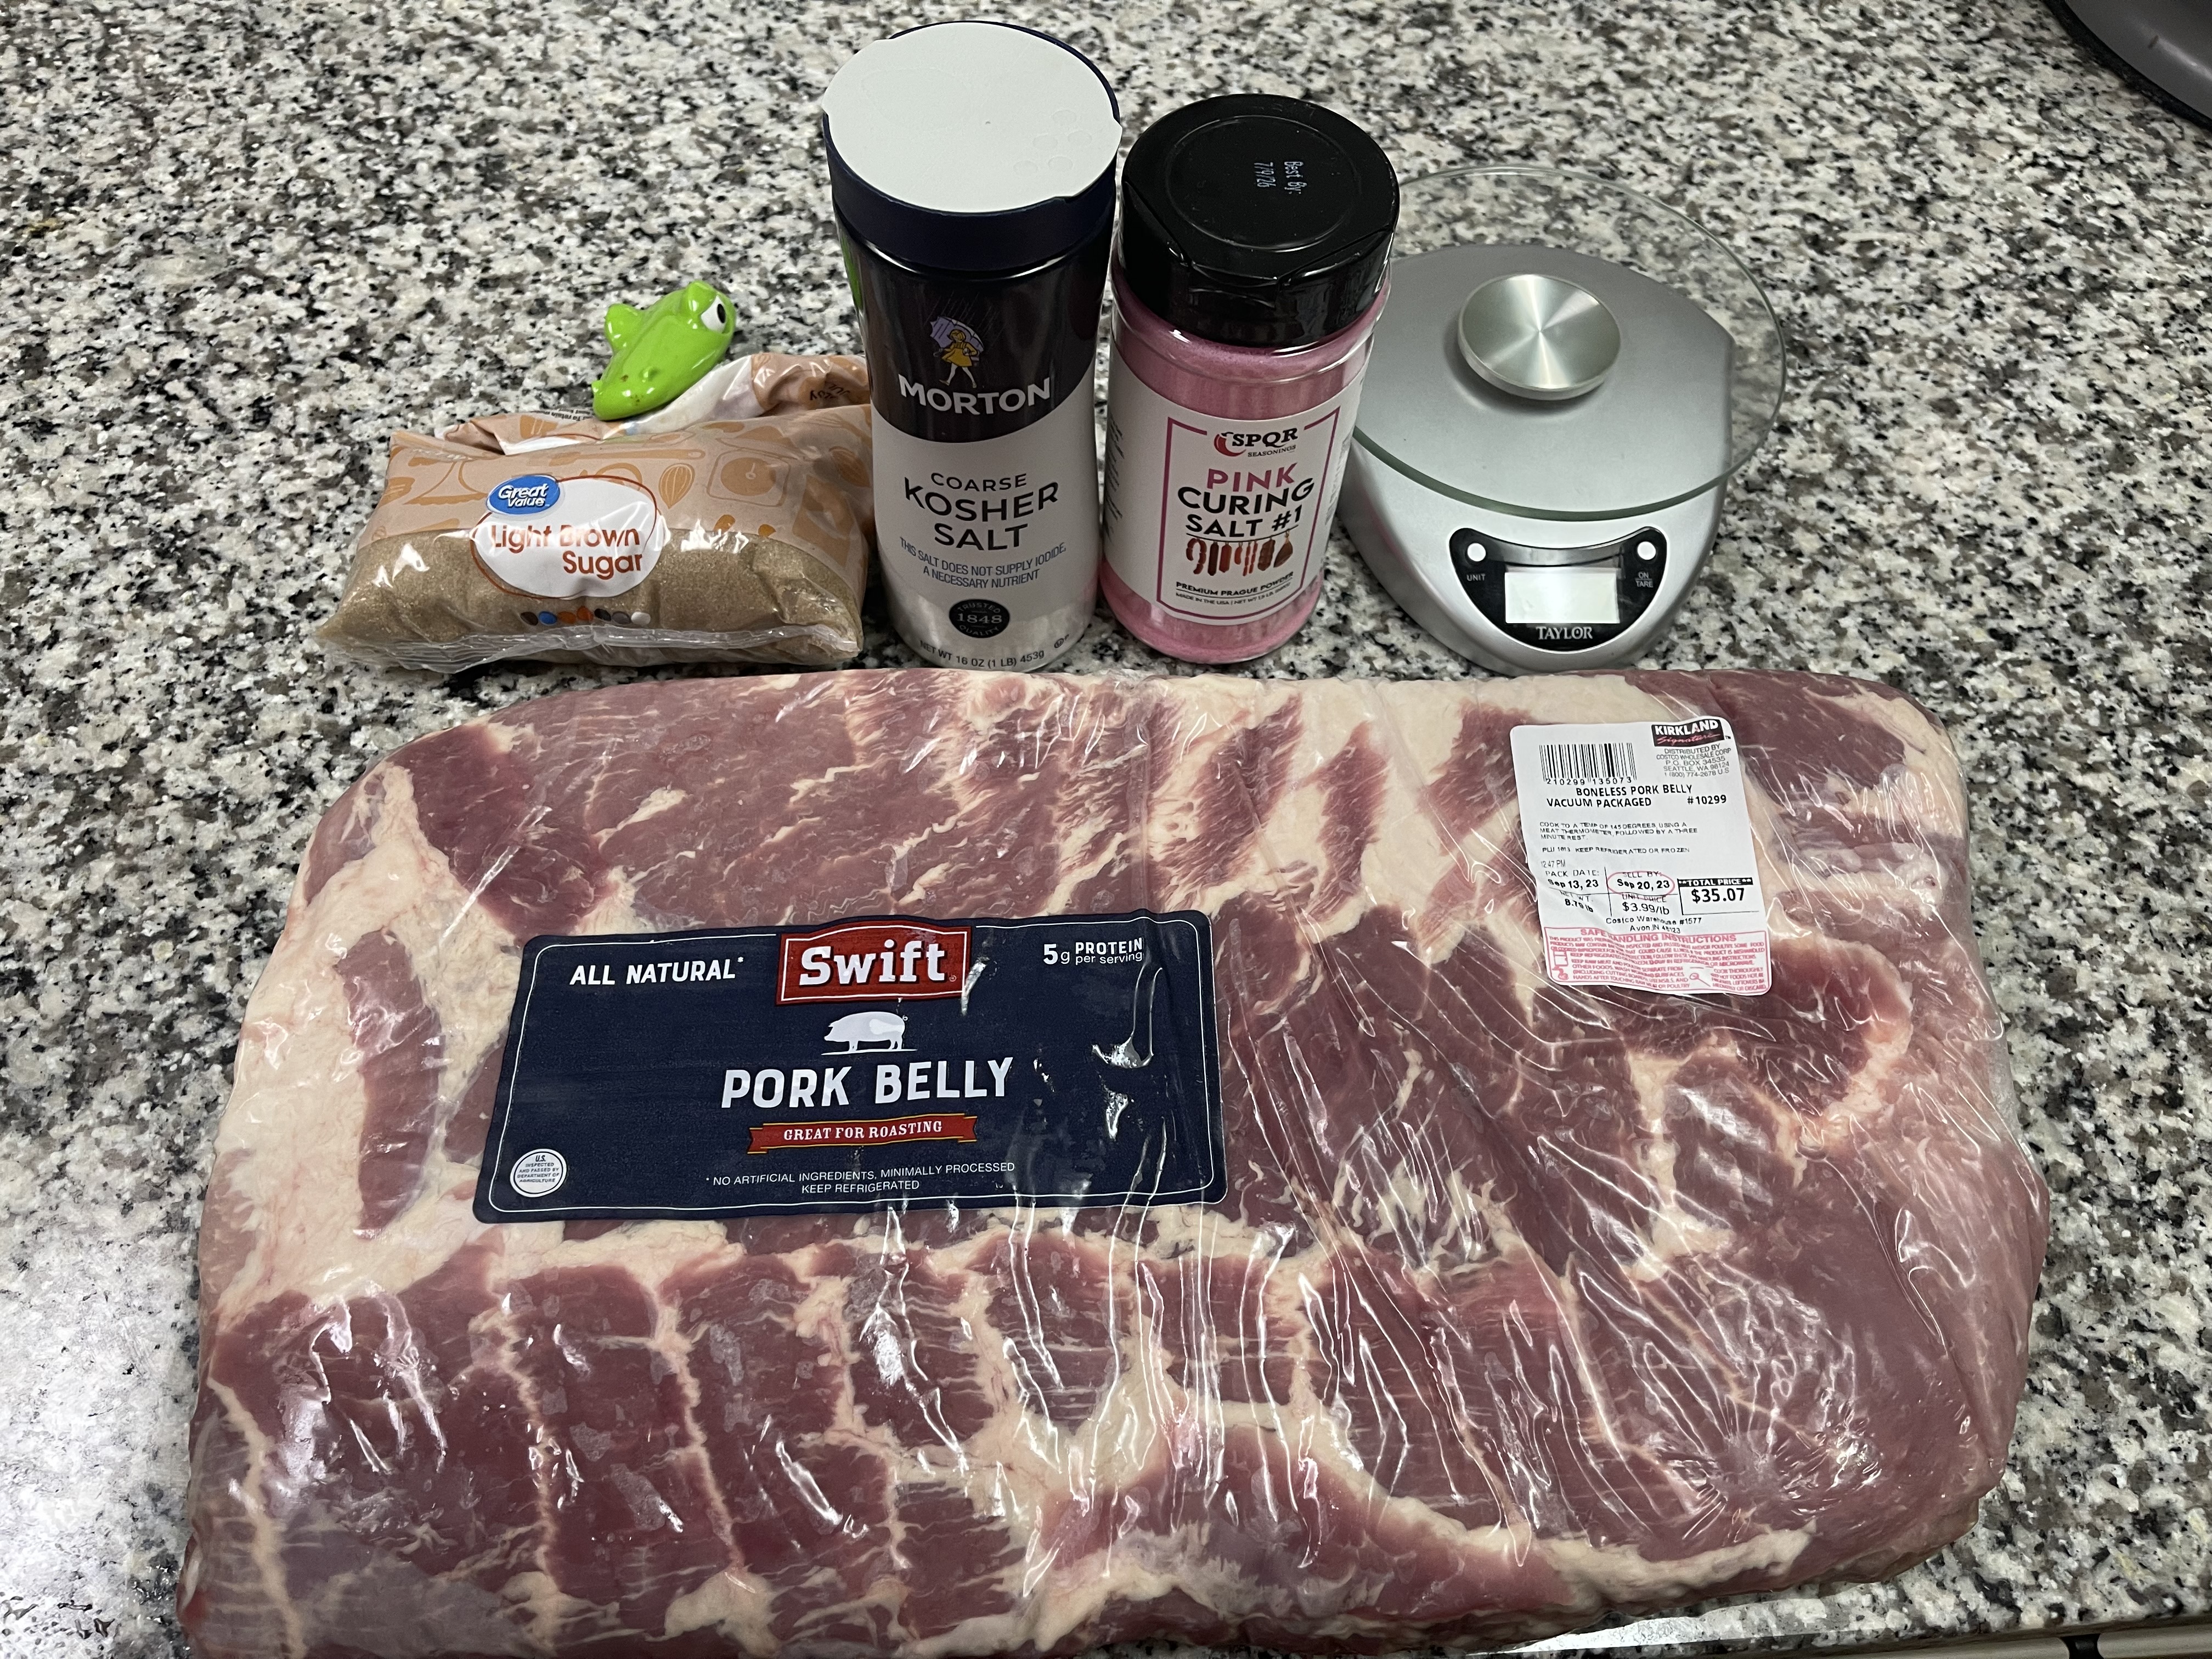
I got a nice piece of uncured pork belly from Costco just down the street.
I have kosher salt, brown sugar, and curing salt.
I cut the pork in two pieces to make it easier to handle. Since the curing rub is a ratio of the meat weight, I weight both pieces separately. Yeah, the weight is on the label on the bag. I got toys that need to be gotten out, like the food scale. I weighed in grams for a more exact measurement.
For salt and sugar, I want 2% of the total weight. If it's been a minute since you took math, I took the total and multiplied by .02. I need just over 76 grams of salt and 76 grams of brown sugar.
I measured kosher salt, hit the tare button to re-zero the scale, and then the brown sugar.
For the curing salt, I need .25% of the total weight.
That's the total weight multiplied by .0025.
Turns out I needed a larger bowl to mix this stuff. Next time 'round, I'll measure the cure for each piece separately.
Coat each piece top and bottom with the cure mixture, and then pack 'em up. The video suggested two-gallon ziploc bags. I used the vacuum sealer because I was worried about leakage. Into the fridge they go for seven days.
...Seven days later...
Look at the difference in color!
Unpacked and rinsed completely, to get the excess cure mix off the meat, and patted dry.
I added pepper hoping for a nice crust. I'll need to add more than this, next time.
On to the trusty Traeger at 225*F. Heat probes set to alarm at 145*F.
Pulled off the smoker, and set in the fridge stark naked to cool. I want it firm enough to slice, and it'll be too wiggly when warm.
The moments of truth! Time to slice and taste!
So...those pieces were too long, and apparently my pan is wayyyy hotter in the middle. I meeeeean...I ate them, because it's bacon. Pictured here with "thick cut" bacon from the grocery. We had to try them at the same time. For science.
Oh, well. I diced up the stuff I'd trimmed off the sides and made an omelet, and I was just fine.
So, I cut the piece I was cutting strips from in half. MUCH better results.
So...I had breakfast for dinner.
The whole point of The Illusion of Sophistication is that you can have fantastic results with minimal effort. Prepping the pork belly took MAYbe twenty minutes. A week later, it was on the smoker for about two hours while I napped. When you do the math, I ended up with some killer bacon for just over $3.00 per pound.
Next time, I'll run the smoker at 180*F and probably end up going closer to three hours (depending on how fast the meat comes up to temp), because I'd like a more intense smoke flavor. I'll measure the cure mix for each piece of meat separately for more precision.